Tiles are one of the most sought-after choices when it comes to Indian home and business building flooring and wall decor. Not only do they bring beauty, but they also bring power to any area. However, the success of any tiling job does not depend solely on how good the tiles are, it also depends on the material used to attach the tiles. And that is where tile adhesive comes in.
Those tile-fixing days with cement are a thing of the past. Tile adhesive, with its higher bonding strength, superior flexibility, and cleaner finish, is now the top tile adhesive solution among experts. But how do you apply it, anyway? If you’re planning to undertake the task of tiling by yourself or simply want a better grasp of the process, this guide is for you
In this blog, we take you through a step-by-step tutorial of using tile adhesive
Why Use Tile Adhesive?
Before finding out how to use tile adhesive, it is helpful to know why it is used instead of traditional cement
Benefits of Using Tile Adhesive:
- Stronger bonding: Contemporary tile glue adhesive is specifically designed to have enhanced bonding strength..
- Time-saving: No soaking of tiles required prior to application.
- Smooth and even application: Assists in obtaining a neat and level finish.
- Different types for different purposes: Whether you require wall tile adhesive, floor tile adhesive, or marble adhesive, there’s one available for every task.
- Water resistance: Waterproof tile adhesives made especially for use in damp areas like patios and bathrooms
Step 1: The Surface Preparation
The first and most crucial step previously before applying any tile fixing adhesive is preparation of the surface for tiling
How to get the surface ready:
- For a complete cleaning, remove any dust, paint, oil, and loose particles from the surface.
- Check for any cracks or holes: Use the proper filler to repair any damaged areas before starting the tiling process.
- Assure flatness: Make sure the surface is even and level for best results.
- Dampen the surface. Surfaces must be completely dry but lightly wet prior to application with adhesive. Be certain, though, that no pooling water exists.
Correct surface preparation allows for maximum chemical bond between the substrate and tile adhesive.
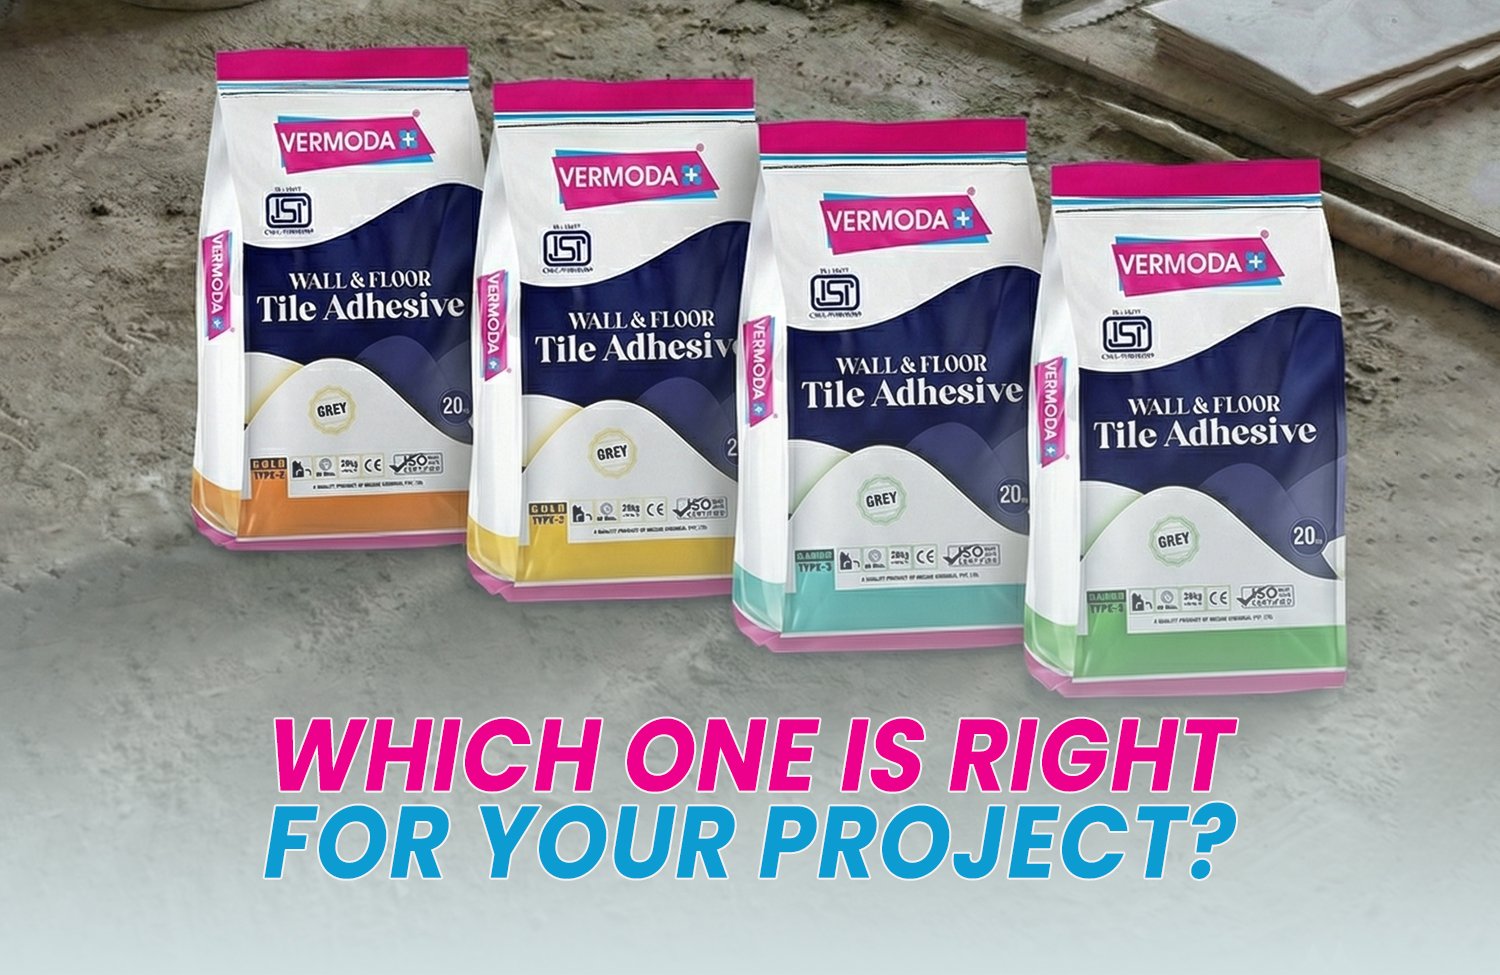
Step 2: Select the Right Tile Adhesive
Adhesives are not all created equal. The location and method of tile repair will determine which kind of tile glue is best..
Common Types of Tile Adhesive:
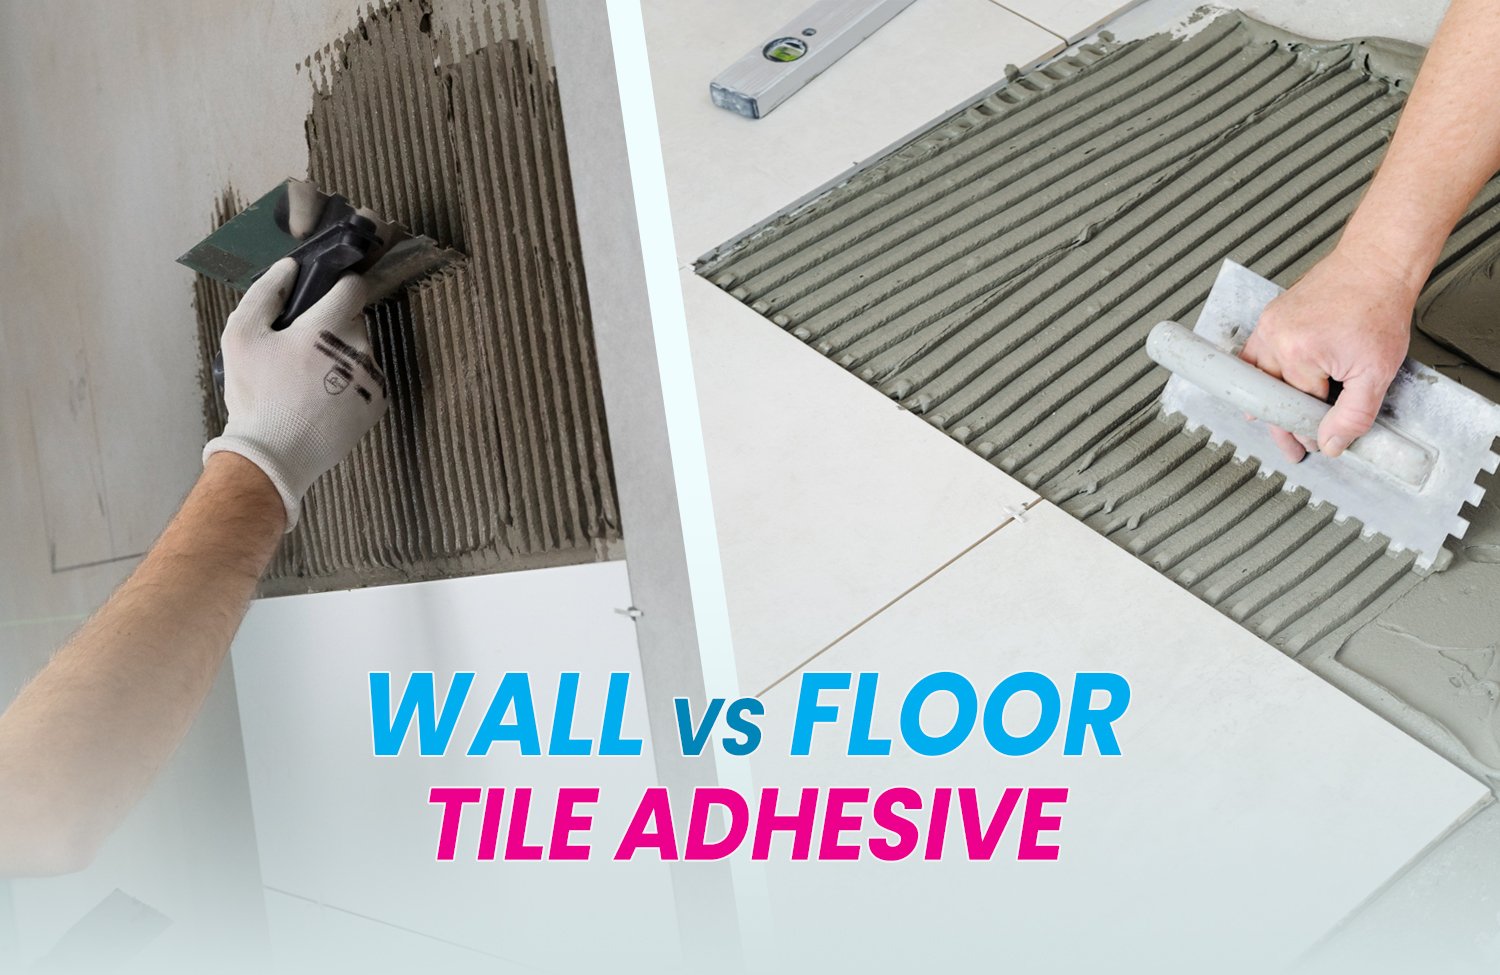
- Wall tile adhesive: For bathroom, kitchen, and feature wall applications.
- Floor tile adhesive: Designed particularly for floor use in houses and companies
- Waterproof tile adhesive: Suitable for areas that are wet, including washrooms, balconies, and pool areas.
- Marble adhesive: Heavy-duty adhesive for thick natural stone tiles
- Ceramic tile adhesive: Suitable for ceramic and porcelain tiles
- Tile floor adhesive: For floor tile use on indoor or outdoor flooring.
Vermoda offers a wide range of high-quality tile adhesive for floor tiles and wall tiles for all types of projects.
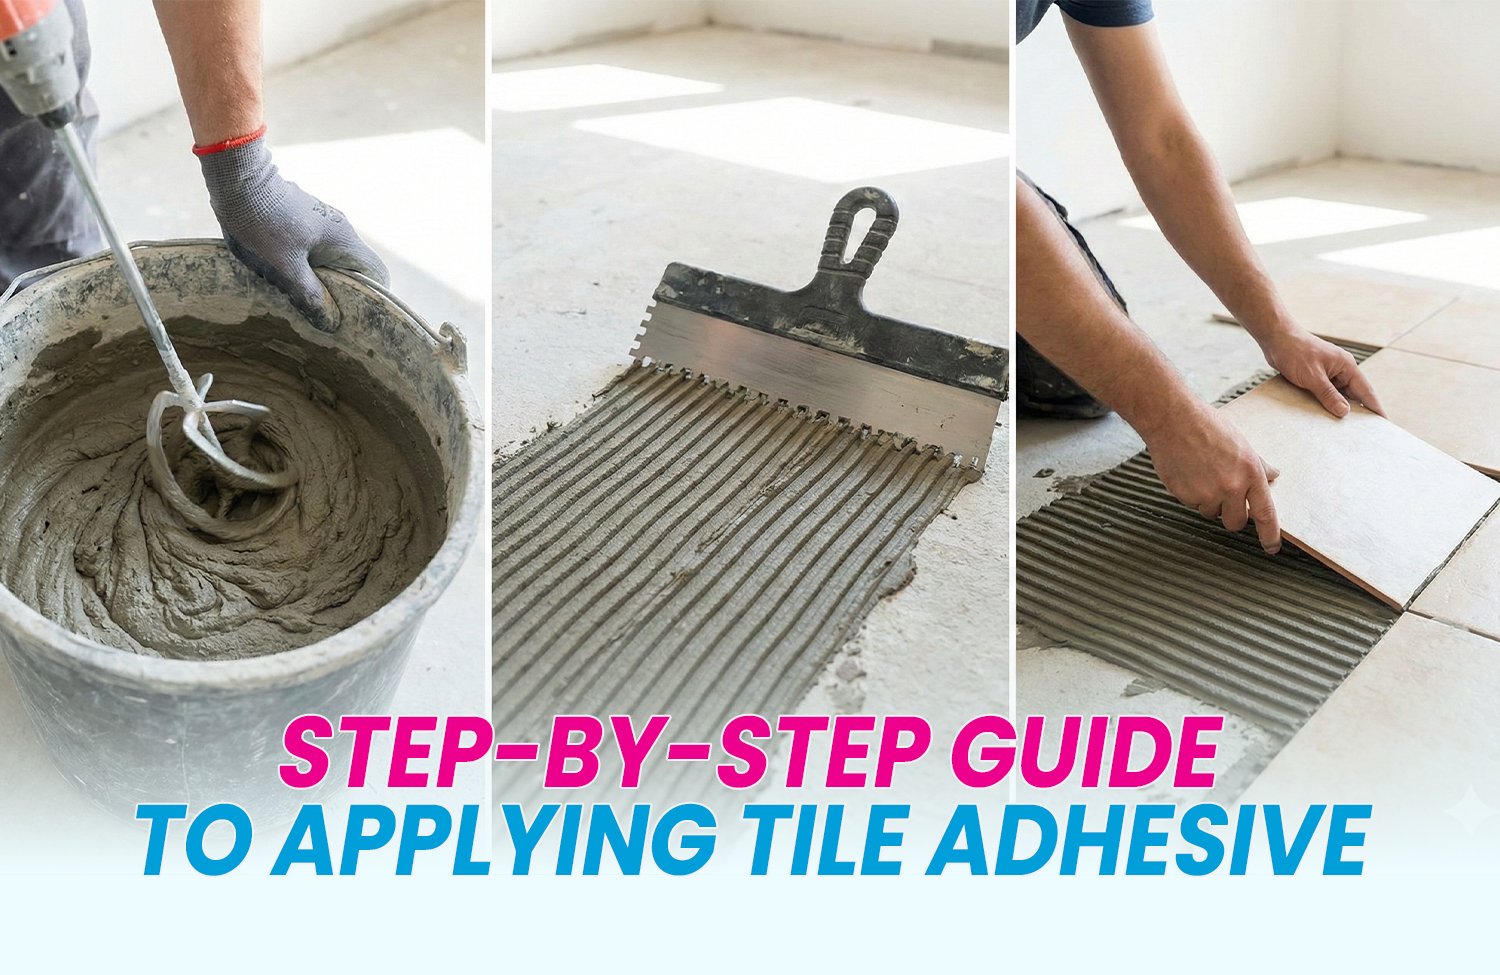
Step 3: Mix the Tile Adhesive
Getting the right mix is key to making sure your tiles stick properly
Mixing process:
- Begin by filling a bucket or mixing container with clean water
- Add the adhesive powder gradually with constant stirring.
- Blend until a smooth paste is achieved.
- Allow the mixture to stand for 5–10 minutes, and then stir it again quickly before applying.
Pro Tip: When working on larger projects, employing a mechanical stirrer will save you time and effort. Always use the manufacturer’s guidelines for mixing to achieve optimal results
Step 4: Apply the Adhesive on the Surface
Now the time is here to apply the tile adhesive mixed at the surface where you want to place the tiles
How to apply:
- Spread the adhesive evenly using a notched trowel
- Make grooves by following the notched edge of the trowel along the adhesive.
- Work in small areas,it is best to lay 1m² of tiles at a time so that the adhesive hasn’t dried out before you can lay them
- Thick, big tiles can even receive a thin layer of adhesive on the back for better bonding.
This action ensures even adhesive application for lasting grip and coverage, whether you’re installing adhesive wall tiles or floor tiles
Step 5: Fix the Tiles
Now that the adhesive is applied, you can proceed to fix the tiles.
Tile fixing process:
- For better sticking, push each tile firmly into the adhesive and twist it a bit or push it.
- Use tile spacers to maintain the tiles’ gaps even. The gaps will be filled with grout afterward
- Level it carefully: Check regularly to ensure it appears neat with a level or straightedge.
- Scrape off surplus adhesive: Scrape away any adhesive that extrudes out of the joints before it can dry
For granite or marble heavy tiles, ensure to utilize the right marble adhesive for maximum strength
Step 6: Curing and Grouting
Once all the tiles are installed, they must be allowed to set before moving on to the final step.
- Curing time: Allow the tiles to set for at least 24 hours prior to grouting or even walking on them.
- Grouting: After the tile adhesive has completely dried, fill the gaps by using grout between the tiles. If the tiling is done in wet areas, then using a waterproof adhesive while installing will ensure that water doesn’t leak through after some time and cause harm to the tiles.
Pro Tips for Applying Tile Adhesive
- Avoid mixing more adhesive than you can apply within 30 minutes. The adhesive begins to harden and becomes less effective.
- Sometimes clean as you go. Wipe off any adhesive that touches the surface of tiles.
- Use the correct adhesive for the correct project. Applying an incorrect product will lead to loose or cracked tiles in the future.
- Using the correct product can significantly impact the outcome when it comes to tiling.
Why Choose Vermoda for Tile Adhesive?
Using the correct product can have a significant impact on the outcome when it comes to tiling.. If you are searching for the best tile adhesive for your next project, Vermoda has you covered. As one of the largest tile adhesives dealers in North India, Vermoda is trusted by builders, contractors, and homeowners across the region. Vermoda offers:
1. Broad range of tiles chemical products
2. Indian condition-specific adhesives
3. Professional advice to assist you in selecting the appropriate tile fixing adhesive
4. All varieties of tiles have products available—ceramic adhesive,
At Vermoda, not only do you have high-quality products, but you also have dependable assistance and advice when you’re doing your tiling job. See our entire selection of products and have your tiling work professional, stunning, and long-lasting