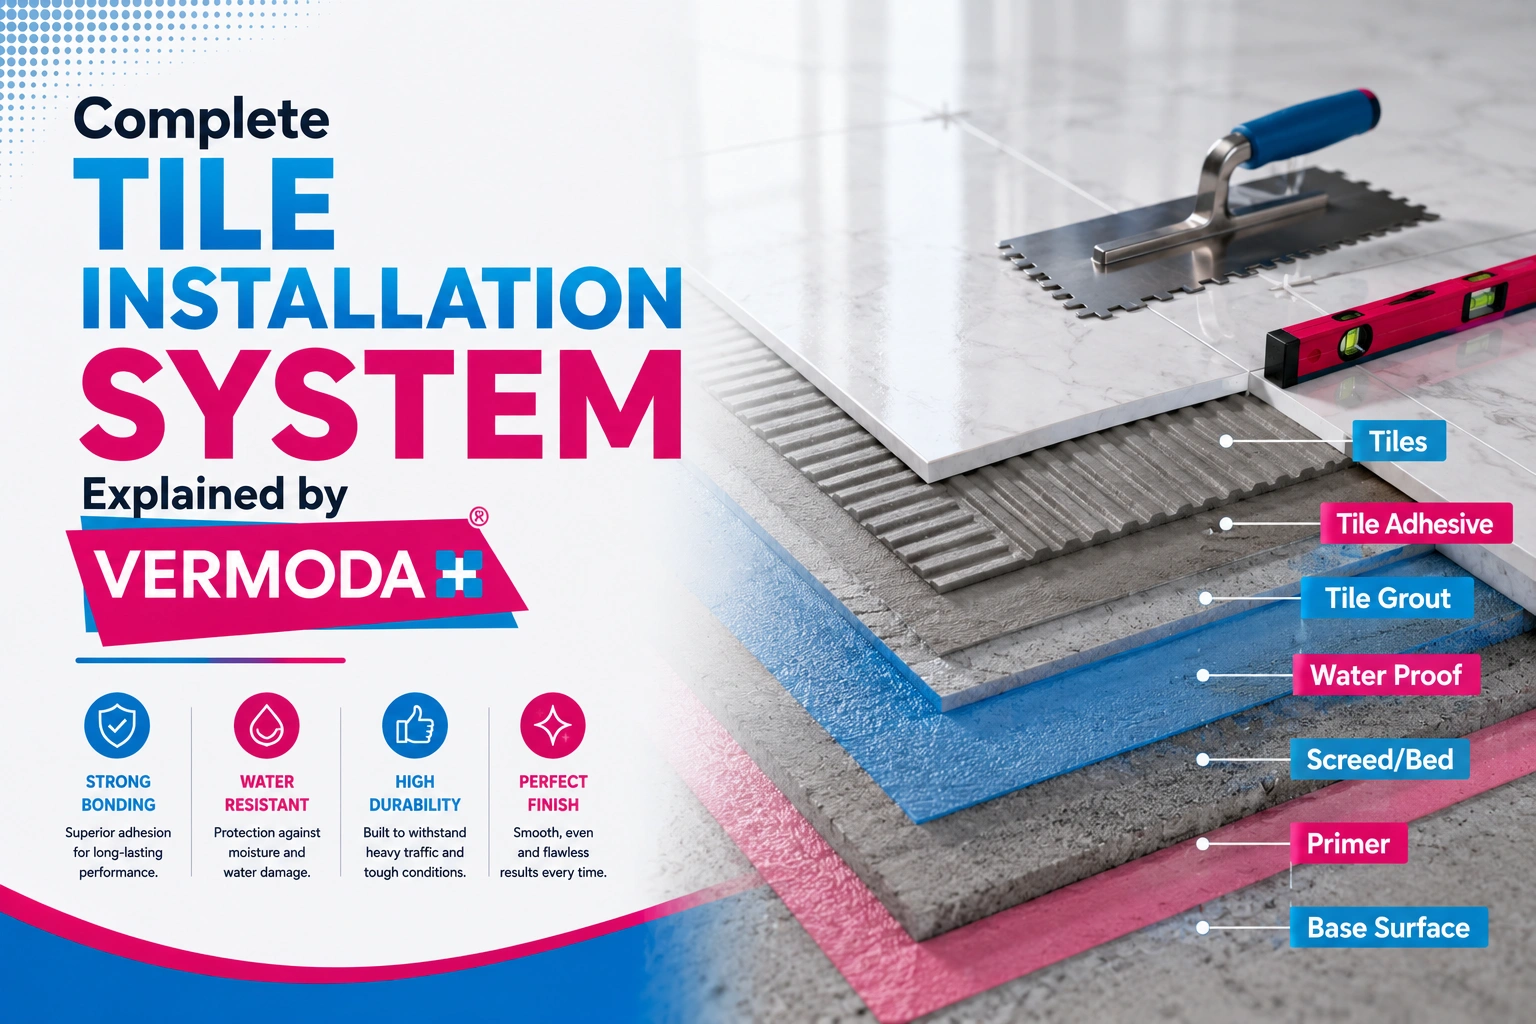
A tile installation system is a coordinated process that includes surface preparation, tile adhesive selection, correct tile fixing, joint grouting, curing, and final cleaning. Using compatible products at every stage improves tile bonding, joint durability, appearance, moisture resistance, and long-term installation performance.
A tile installation should not be treated as simply sticking tiles to a wall or floor. The performance of the finished surface depends on how well each stage works with the next. A high-quality tile combined with unsuitable adhesive or poorly applied grout can still result in hollow tiles, cracked joints, staining, or premature failure.
This guide explains the complete tile installation process and how a systematic approach can deliver better results for residential, commercial, and infrastructure projects.
Table of Contents
ToggleWhat Is a Tile Installation System?
A tile installation system is a complete sequence of products and installation practices used to create a durable tiled surface.
It generally includes:
- Surface preparation
- Substrate treatment
- Tile adhesive selection
- Tile fixing
- Joint preparation
- Grouting
- Curing
- Final cleaning
- Ongoing maintenance
Instead of selecting individual products without considering compatibility, contractors can use a coordinated system designed for the specific tile type, substrate, environment, and application.
Why Is a Complete Tile Installation System Important?
Tiles are only one part of a successful installation. The adhesive, grout, substrate, and installation technique all contribute to the final performance.
A systematic approach can help:
- Improve tile adhesion
- Reduce hollow spots
- Minimize tile movement
- Improve joint durability
- Reduce moisture penetration
- Improve surface appearance
- Reduce repair requirements
- Improve project consistency
For large construction projects, this approach can also simplify material selection and quality control across different installation areas.
Key Components of a Tile Installation System
1. Surface Preparation
Every successful installation begins with a suitable substrate.
The surface should be structurally sound, clean, and free from loose particles, dust, grease, and contaminants. Uneven surfaces should be appropriately corrected before tile fixing begins.
Poor substrate preparation can compromise even the most advanced adhesive.
2. Choosing the Right Tile Adhesive
Tile adhesive provides the primary bond between the tile and substrate. The correct product should be selected according to tile size, tile type, substrate, location, and expected service conditions.
For example, large-format tiles may require a different adhesive and application technique than smaller ceramic tiles.
Vermoda Plus offers a range of tile adhesive solutions for different installation requirements.
3. Correct Tile Fixing
Once the adhesive is selected, proper application is essential.
The installer should use an appropriate notched trowel and spread the adhesive consistently. For larger tiles, back-buttering may be required to improve contact between the tile and adhesive.
Proper coverage helps reduce hollow areas beneath tiles and improves long-term stability.
4. Tile Joint Preparation
The space between tiles is not simply an empty gap. Correct joint dimensions allow the installation to accommodate minor movement while creating a suitable area for grout.
Joint width should be determined according to tile characteristics, design requirements, and manufacturer recommendations.
A quality tile joint grout then fills and protects these spaces.
5. Grouting
Grouting is a critical stage of the installation system.
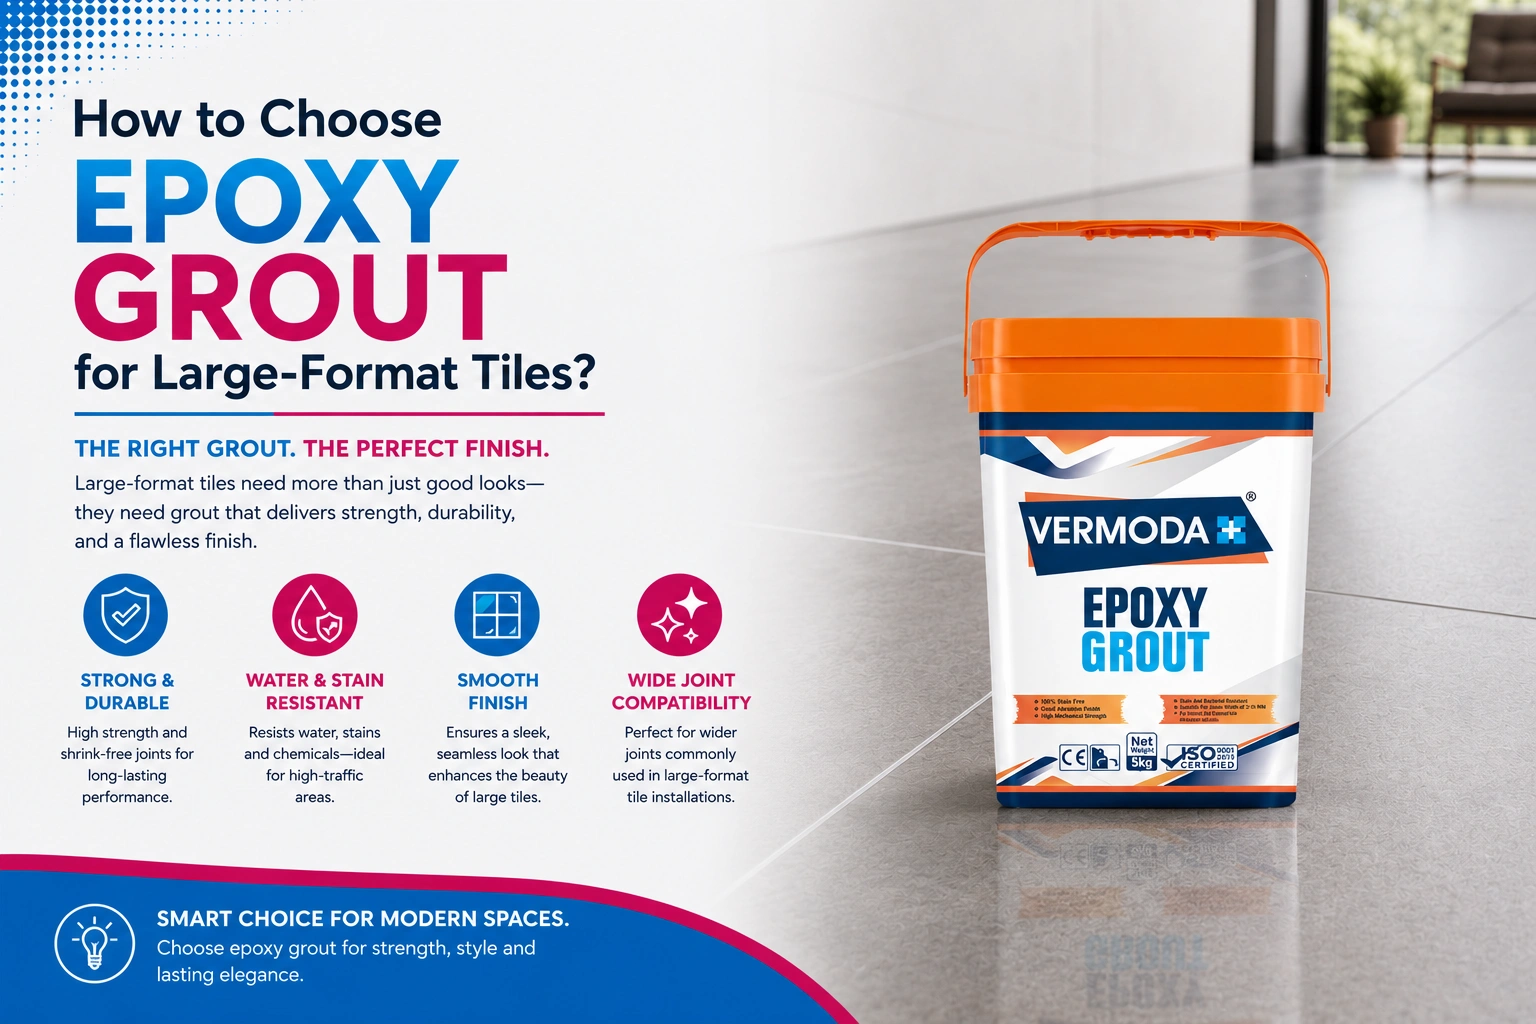
The correct grout should be selected according to the environment and expected exposure. Cement-based grout may suit certain applications, while epoxy grout can provide advantages where higher resistance to moisture, stains, and chemicals is required.
For demanding areas, epoxy grout for tiles can provide a dense and durable joint surface.
Tile Adhesive vs Traditional Cement Mortar
| Feature | Tile Adhesive | Traditional Cement Mortar |
|---|---|---|
| Application Thickness | Generally thinner | Generally thicker |
| Bonding Performance | Engineered for tile fixing | Depends heavily on mix and application |
| Tile Formats | Suitable for many modern formats | More limited for certain applications |
| Consistency | Factory-controlled product | Depends on site mixing |
| Installation Process | Faster and more controlled | More labour intensive |
| Material Handling | Convenient | Requires multiple materials |
| Modern Tile Applications | Highly suitable | Application dependent |
The right choice ultimately depends on the tile, substrate, project conditions, and manufacturer’s technical recommendations.
Also Read: Why Vermoda Plus Most Trusted Grout Manufacturer in India?
Step-by-Step Tile Installation Process
A professional tile installation system should follow a controlled sequence.
Step 1: Inspect the Substrate
Check the surface for cracks, unevenness, moisture issues, dust, and loose material.
Step 2: Prepare the Surface
Clean and prepare the substrate according to the installation requirements.
Step 3: Select the Adhesive
Choose the appropriate tile adhesive based on tile size, substrate, and application.
Step 4: Apply the Adhesive
Use the recommended trowel and maintain consistent coverage.
Step 5: Fix the Tiles
Place tiles carefully while maintaining the required alignment and joint width.
Step 6: Allow Proper Setting
Follow the manufacturer’s recommended setting and curing period before grouting.
Step 7: Apply Grout
Fill the tile joints completely using the appropriate grout.
Step 8: Clean the Surface
Remove grout residue carefully without damaging the tile or joints.
Step 9: Inspect the Finished Installation
Check alignment, joint consistency, bonding, surface cleanliness, and overall finish.
How Grout and Cleaning Complete the System
The installation process does not end after the tiles are fixed.
The correct grout protects tile joints, while appropriate cleaning removes installation residue and helps maintain the finished surface.
For example, a tile stain remover can be useful for addressing suitable surface stains, but the cleaning method should always be compatible with the tile and grout type.
Regular maintenance also helps preserve the appearance of both tiles and grout over time.
Common Tile Installation Mistakes
Even quality products can perform poorly when installation practices are incorrect.
Common mistakes include:
- Applying adhesive over an unprepared surface
- Selecting adhesive without considering tile size
- Using insufficient adhesive coverage
- Incorrectly mixing products
- Ignoring recommended joint widths
- Grouting before adhesive has adequately set
- Leaving grout residue on tile surfaces
- Skipping movement joints where required
- Using incompatible cleaning products
Avoiding these mistakes is particularly important on large residential, hospitality, commercial, and infrastructure projects.
Supporting Materials for Modern Tile Projects
A complete construction project may require additional materials depending on its design and technical requirements.
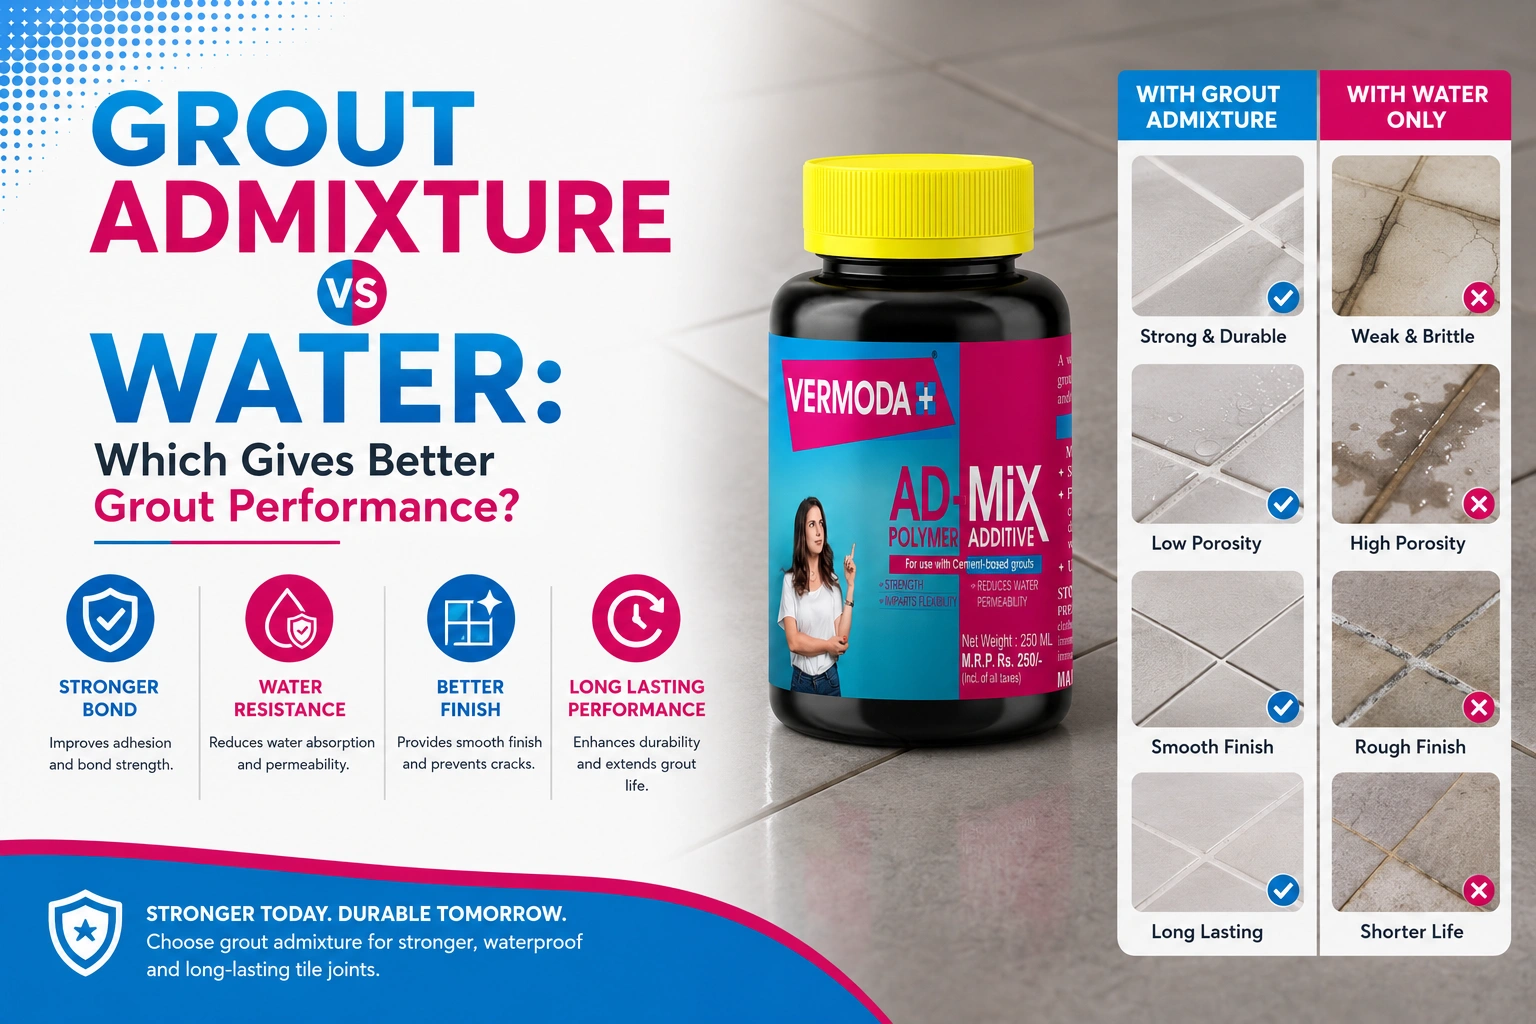
For selected applications, white cement online products can be considered for suitable finishing or decorative work. Construction professionals may also use a compatible grout admixture or other additives when specified for the application.
However, these products should not automatically replace purpose-designed tile adhesives or grouts. Product selection should always follow technical specifications and manufacturer recommendations.
Vermoda Plus: Complete Tile Installation Solutions
Vermoda Plus provides a broad portfolio of tile installation and construction chemical solutions designed to support different project requirements.
The brand’s product range includes tile adhesives, epoxy grout systems, and related installation solutions for residential, commercial, and infrastructure applications.
Vermoda Plus is positioned as the only tile grout supplier in India with a wide variety of products in its portfolio, demonstrating its strong manufacturing and supply capabilities across the Indian market.
For builders, architects, contractors, developers, and project managers, a coordinated product range can make product selection and project execution more streamlined.
Expert Recommendation
For reliable tile performance, professionals should evaluate the entire installation rather than focusing on the tile alone.
The most important considerations are substrate preparation, adhesive selection, coverage, tile placement, joint design, grout selection, curing, and cleaning.
For wet or high-traffic applications, selecting an appropriate epoxy grout can provide additional resistance to moisture, stains, and chemicals. A compatible tile adhesive and correct installation technique complete the system.
Summary: Key Takeaways
- A tile installation system involves much more than fixing tiles.
- Surface preparation is the foundation of a durable installation.
- The adhesive should match the tile, substrate, and application.
- Proper adhesive coverage helps improve tile stability.
- Correct joint preparation and grouting protect tile joints.
- Epoxy grout can be suitable for demanding moisture and chemical exposure.
- Proper cleaning and maintenance preserve the finished installation.
- Vermoda Plus provides tile adhesives and epoxy grout solutions for diverse project requirements.
Frequently Asked Questions
1. What is a complete tile installation system?
It is a coordinated process involving surface preparation, adhesive, tile fixing, joint grouting, curing, cleaning, and maintenance.
2. Which adhesive is best for tile installation?
The appropriate adhesive depends on tile type, size, substrate, location, and project requirements. Vermoda Plus offers multiple tile adhesive solutions for different applications.
3. Why is surface preparation important?
Proper preparation improves adhesive contact and helps prevent problems such as hollow tiles, poor bonding, and premature installation failure.
4. When should tile grout be applied?
Grouting should be performed after the tile adhesive has adequately set according to the product manufacturer’s recommendations.
5. Is epoxy grout suitable for bathrooms?
Yes. Epoxy grout can be suitable for bathrooms because it offers strong resistance to moisture, stains, and chemicals when correctly selected and installed.
6. How can tile installation problems be prevented?
Use compatible products, prepare the substrate correctly, follow application instructions, achieve adequate adhesive coverage, and allow appropriate setting and curing times.
7. Why choose Vermoda Plus for tile installation?
Vermoda Plus offers a broad portfolio of tile adhesives, epoxy grout systems, and construction solutions designed to support professional tile installation projects.
Contact Vermoda Plus
Planning a residential, commercial, or infrastructure tile installation project?
- Call us: +91 9713200009
- Whatsapp us: +918708521730
- Email us: info@vermodaplus.com