Table of Contents
ToggleIntroduction
Even the best tile adhesive won’t perform well if applied incorrectly. Poor installation can lead to hollow sounds, cracked tiles, or weak bonding — all costly issues to fix later. Whether you’re a professional tile setter or a homeowner supervising your project, learning the right method can make a big difference.
At Vermoda Plus, we focus on precision and performance — helping builders and homeowners achieve perfect tile installations that last. Here’s a step-by-step guide to applying tile adhesive like a professional.
What You Need Before You Begin
Before applying tile adhesive, ensure you have the right materials and tools ready. Preparation saves time and ensures uniform results.
Tools Required:
- Notched trowel (6mm to 10mm, depending on tile size)
- Mixing bucket or drill mixer
- Measuring scale and rubber mallet
- Tile spacers
- Sponge and a clean cloth
Materials Required:
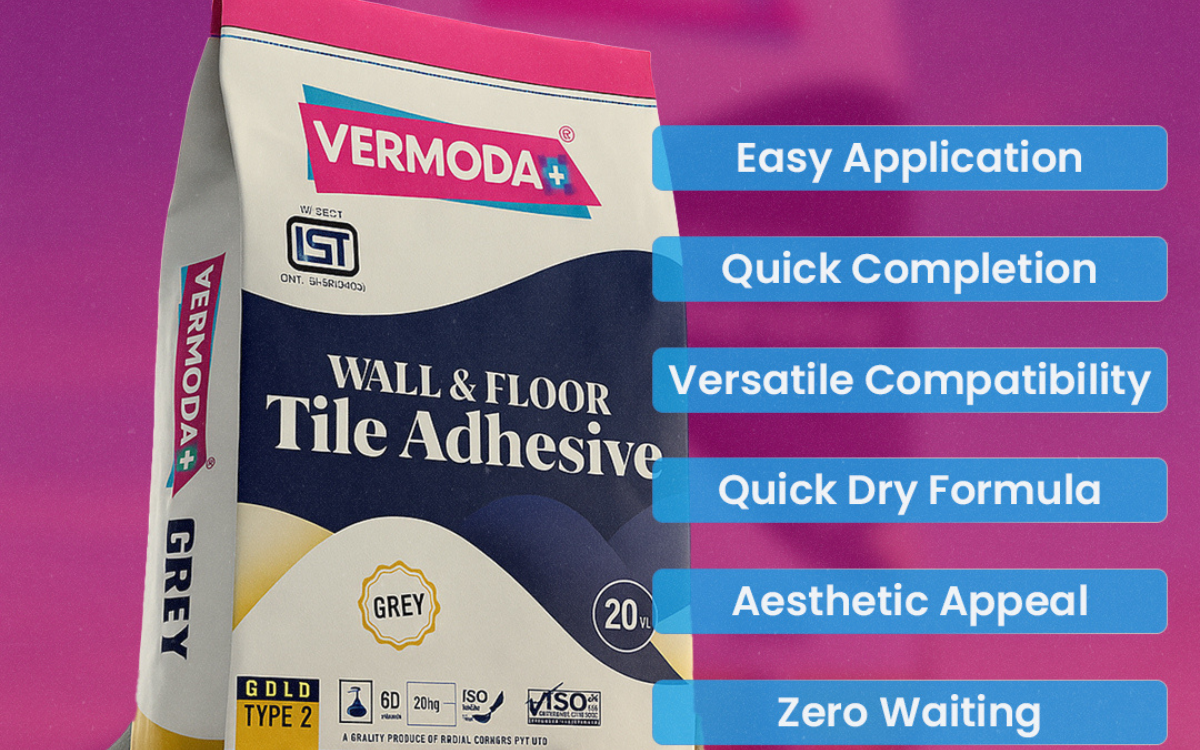
- Quality tile adhesive (choose based on tile and surface type)
- Clean water
- Tiles (ceramic, vitrified, or natural stone)
💡 Tip: Select the right adhesive from the Vermoda Plus Tile Adhesive range — engineered for strong bonding on both floors and walls.
Step 1: Surface Preparation
The foundation of good tile installation starts with surface readiness.
- Clean the surface thoroughly — remove dust, grease, paint, or loose particles.
- Ensure the base is level and free from cracks.
- Lightly moisten the surface before application — it should be damp but completely free from standing or pooling water for optimal adhesive bonding
A smooth, clean surface allows the tile adhesive to bond effectively and prevents tile displacement later.
Step 2: Mixing the Tile Adhesive
Proper mixing ensures the adhesive activates correctly and provides maximum strength.
- Pour clean water into a mixing bucket.
- Gradually add tile adhesive powder to the water (never the other way around).
- Mix with a mechanical stirrer or paddle mixer until a smooth, lump-free paste forms.
- Let the mixture rest for 5–10 minutes, then remix briefly before application.
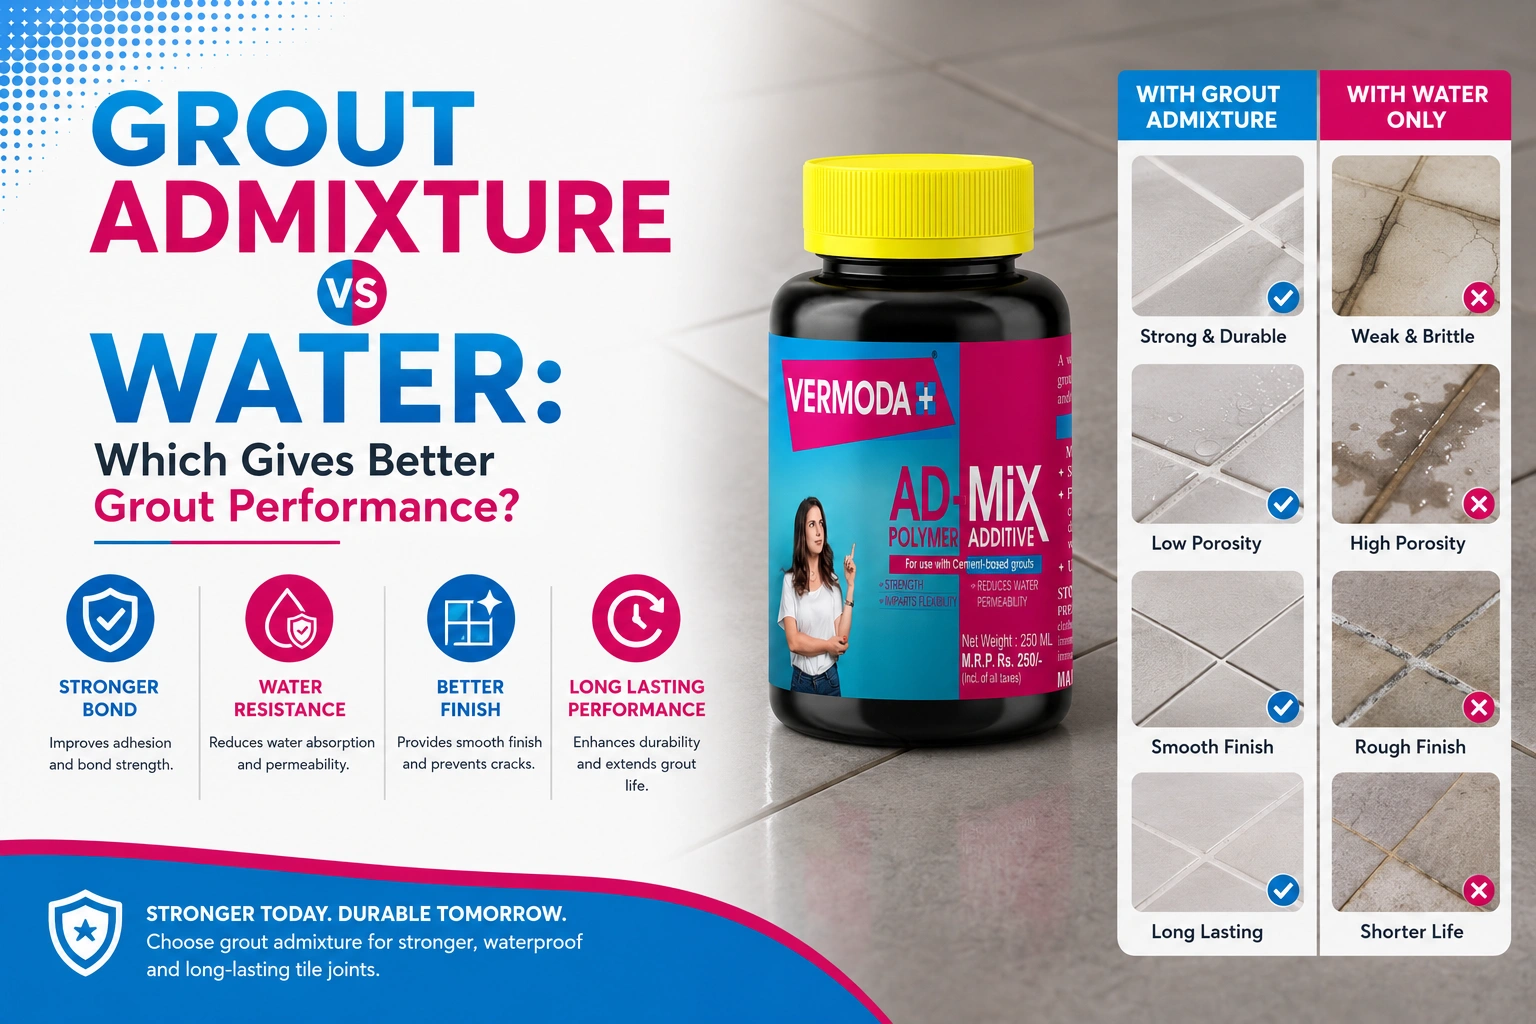
⚠️ Do not add excess water — it weakens bonding strength and causes tiles to lift later.
Step 3: Applying Tile Adhesive on the Surface
- Use the flat side of the trowel to spread a thin layer on the substrate.
- Then, with the notched side, comb the adhesive to create uniform ridges.
- Work on small areas (approx. 1 m² at a time) so the adhesive doesn’t dry before tile placement.
✅ For wall applications: Use a smaller notch size to control adhesive thickness.
✅ For floor tiles: Use wider notches to ensure full contact and coverage.
Step 4: Fixing the Tiles
- Press the tile gently into the adhesive bed with a slight sliding motion.
- Tap lightly with a rubber mallet to remove air pockets and ensure even contact.
- Maintain uniform gaps using spacers for clean grout lines.
💡 For large-format tiles, apply adhesive to both the surface and the tile’s backside — a technique known as back-buttering — for better bonding.
Step 5: Checking Alignment and Level
After fixing a few tiles:
- Check alignment using a straight edge or spirit level.
- Make immediate adjustments before the adhesive starts to set (within 10–15 minutes).
- Clean excess adhesive from tile joints and edges before it hardens.
Proper alignment ensures professional results and prevents future lippage or unevenness.
Step 6: Curing and Grouting
Allow the tiles to set undisturbed for 24 hours before applying grout.
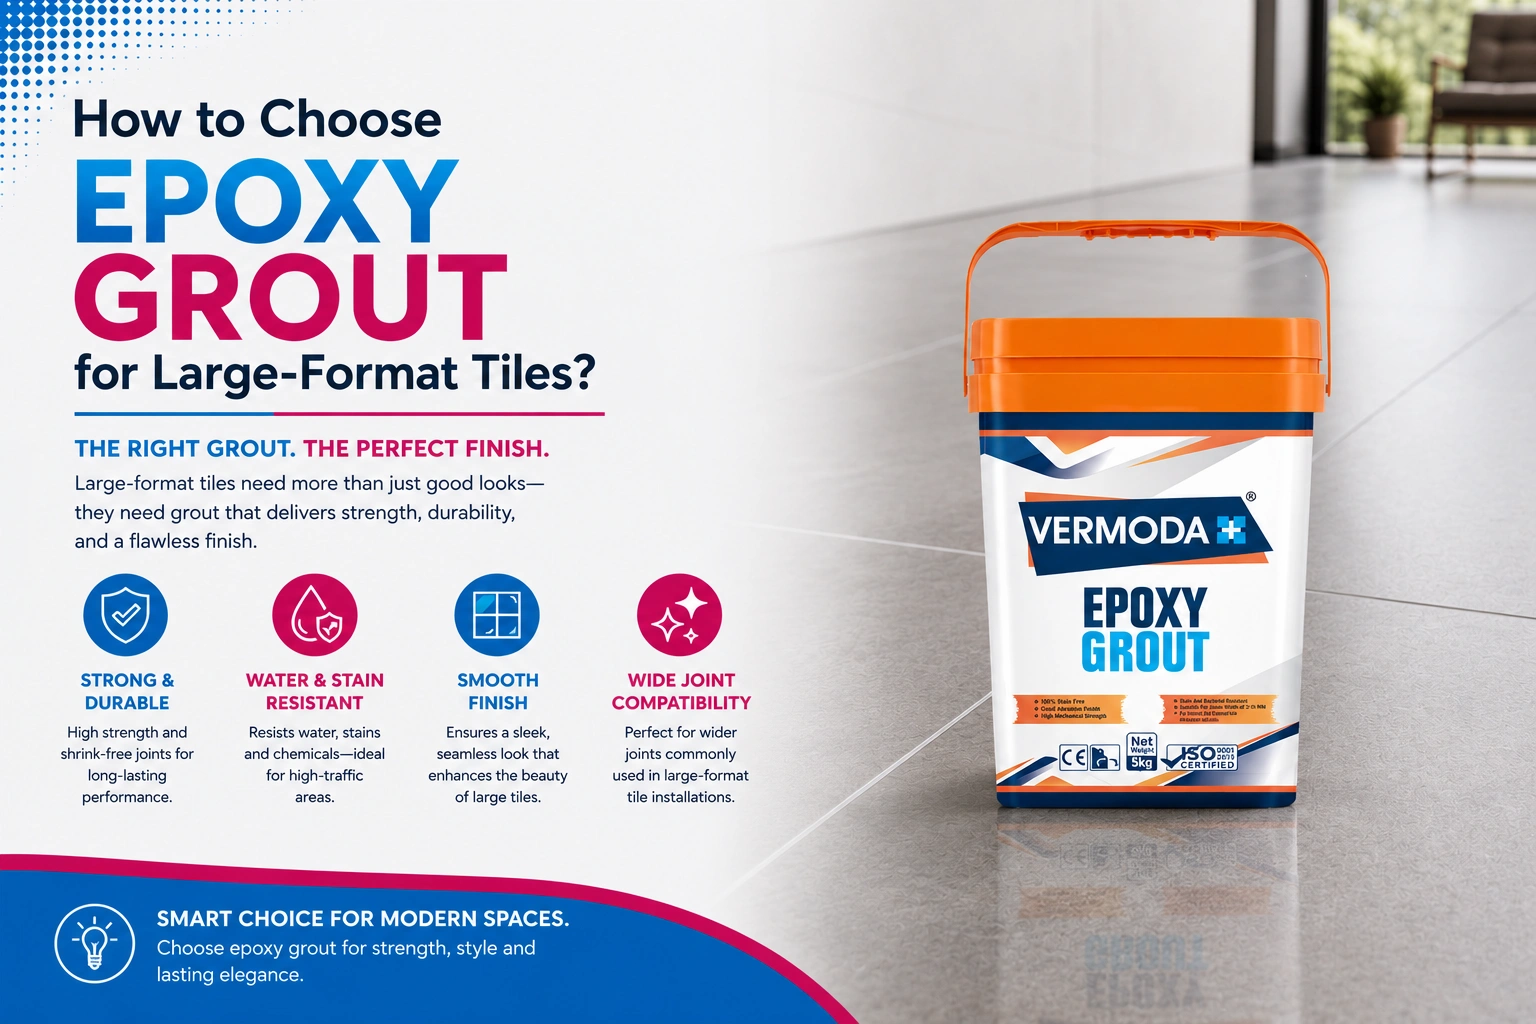
For wet areas or decorative finishes, choose a high-performance epoxy grout.
➡️ Learn more about Vermoda Plus Epoxy Grouts for long-lasting joint protection and a clean finish.
Common Mistakes to Avoid
- Overmixing adhesive: Reduces working time.
- Skipping surface cleaning: Leads to poor adhesion.
- Laying tiles too late: Adhesive skin forms and prevents bonding.
- Ignoring back-buttering: Causes hollow spots on large tiles.
- Using wrong adhesive type: Always match it to the tile and environment.
By avoiding these pitfalls, your tile adhesive for floor and wall installations will last for years without issues.
Which Tile Adhesive Is Right for Your Project?
Not all tile adhesives work the same way. Choosing the wrong one can lead to loose tiles, cracks, and costly repairs. Here is a quick comparison of the four most commonly used tile adhesives to help you pick the right one before you start:
| Feature | Wall Tile Adhesive | Floor Tile Adhesive | Waterproof Tile Adhesive | Marble Tile Adhesive |
|---|---|---|---|---|
| Best Used For | Interior wall tiles, kitchen backsplash, bathroom walls | Floor tiles, heavy traffic areas, outdoor flooring | Wet areas, swimming pools, bathrooms, kitchens | Marble, granite, and natural stone surfaces |
| Bonding Strength | Medium — suitable for lightweight wall tiles | High — engineered for heavy floor tile loads | Very High — chemical-resistant and waterproof bond | High — gentle yet strong for delicate natural stone |
| Water Resistance | Low to Medium | Medium | Very High — fully waterproof | Medium to High |
| Suitable Tile Types | Ceramic, vitrified, glass mosaic | Ceramic, vitrified, porcelain, large format | Ceramic, vitrified, porcelain, glass mosaic | Marble, granite, travertine, limestone |
| Setting Time | 24 hours | 24 to 48 hours | 24 to 48 hours | 24 to 48 hours |
| Full Cure Time | 7 days | 7 days | 7 to 10 days | 7 days |
| Application Area | Walls only | Floors and horizontal surfaces | Walls and floors in wet zones | Walls and floors for natural stone |
| Slip Resistance | Low — not suitable for floors | High — anti-slip formula | High — anti-slip in wet areas | Medium |
| Flexibility | Low | Medium | High — resists movement and vibration | Medium to High |
| Temperature Resistance | Medium | High | Very High | Medium |
| Ideal Spaces | Living room walls, kitchen tiles, bathroom walls | Hallways, kitchens, outdoor areas, and commercial floors | Swimming pools, wet rooms, terraces, and bathrooms | Luxury interiors, hotel lobbies, premium residences |
| Vermoda Product | Tile Adhesive Silver | Tile Adhesive Gold | Tile Adhesive Platinum | Tile Adhesive Diamond |
Why Choose Vermoda Plus Tile Adhesives
Vermoda Plus adhesives are developed using advanced formulations that ensure:
- Superior bonding for all tile types (ceramic, vitrified, marble, stone)
- Excellent vertical slip resistance
- Extended open time for easy application
- High water and heat resistance
Our products are trusted by professionals for consistent performance and reliability across India.
➡️ Explore the complete Vermoda Plus Tile Adhesive range or Become a Distributor to partner with us.
Vermoda Plus — One of India’s Leading Tile Adhesive and Grout Brands
Recognised for its superior product range and consistent performance, Vermoda Plus stands among the top tile adhesive and epoxy grout manufacturers in India. The brand’s growing trust across homeowners, contractors, and builders reflects its dedication to reliable quality, cutting-edge technology, and customer satisfaction. With a strong distribution network and nationwide availability, Vermoda Plus continues to strengthen its position as a leader in India’s construction material industry.
Final Thoughts
Applying tile adhesive correctly is a blend of technique and patience. With the right materials, tools, and method, you can achieve a durable, smooth, and professional finish that enhances your space.
At Vermoda Plus, we’re committed to empowering both contractors and homeowners with expert-grade solutions and trusted guidance — ensuring every tile stays perfectly in place, for years to come.
FAQs
How do you apply tile adhesive correctly?
Clean the surface, mix adhesive, apply with a notched trowel, press tiles firmly.
How long does tile adhesive take to dry?
Tile adhesive takes 24 hours to dry before grouting can begin.
How thick should tile adhesive be applied?
Tile adhesive should be applied at a thickness of 3 to 6 millimetres consistently.
Do you need to wet tiles before applying adhesive?
No, tiles should be clean and dry before applying tile adhesive.
What is the difference between tile adhesive and cement?
Tile adhesive bonds stronger, dries faster, and resists moisture better than cement.