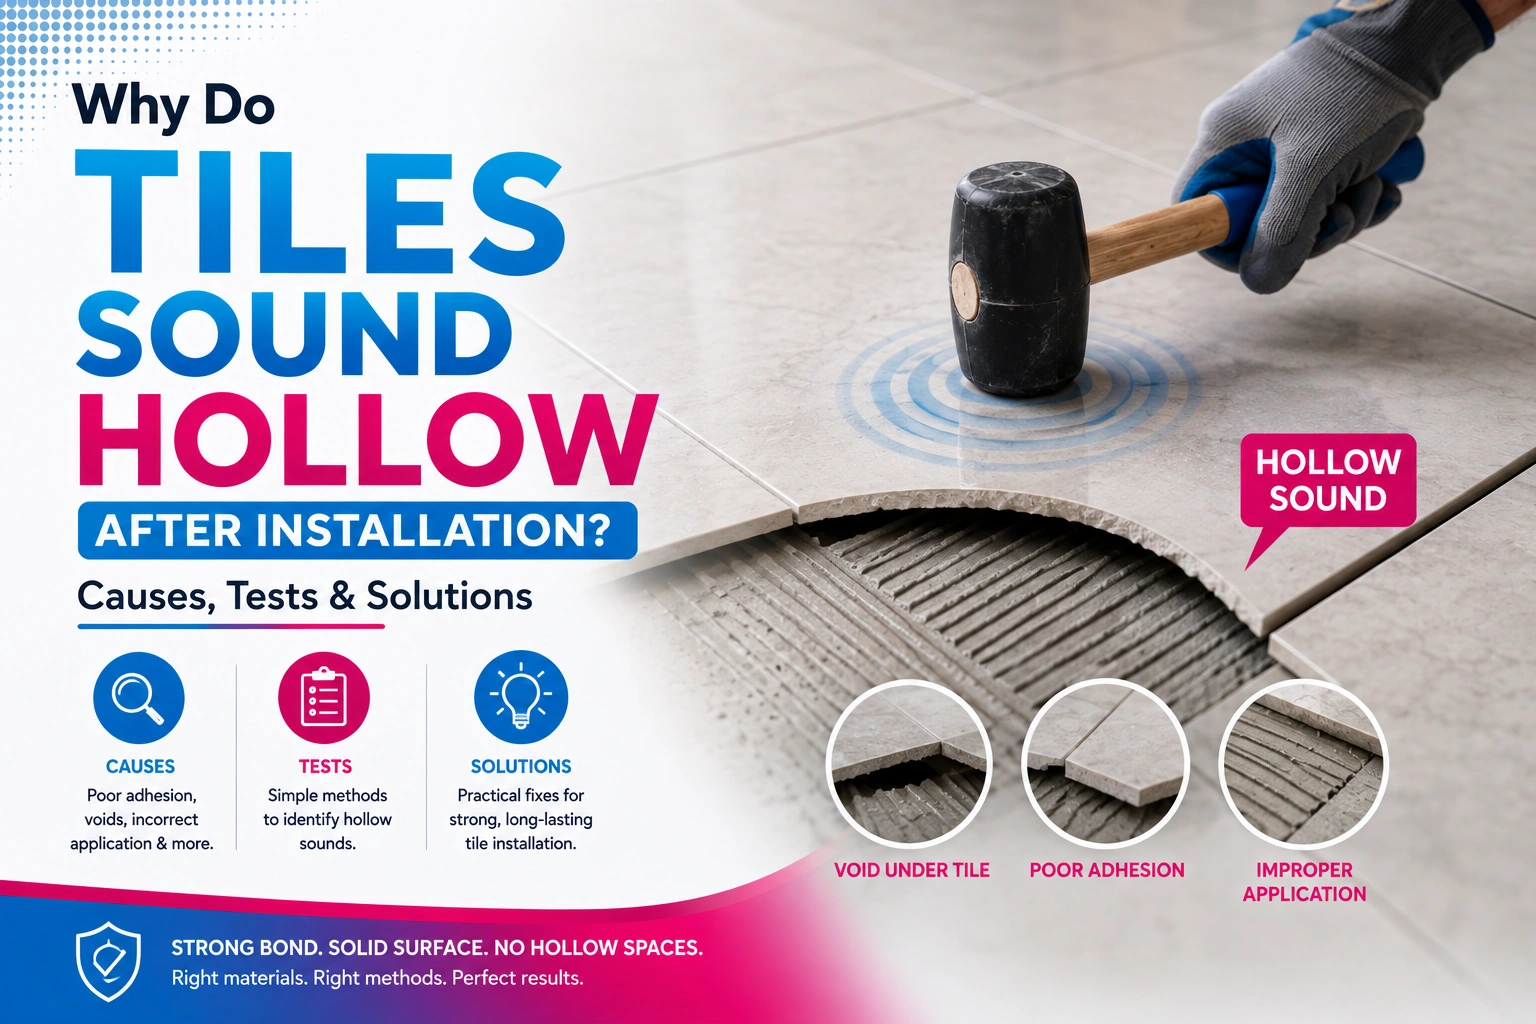
Hollow tiles occur when there are gaps or insufficient contact between the tile and the substrate, causing a hollow sound when tapped. Common causes include inadequate adhesive coverage, poor substrate preparation, incorrect adhesive application, or tile movement. Identifying hollow areas early can help prevent loose tiles, cracking, moisture penetration, and costly repairs.
A newly installed tiled floor should feel stable and firmly bonded. However, tapping the surface and hearing a noticeably different sound from surrounding tiles can indicate incomplete contact underneath.
For builders, architects, contractors, and homeowners, understanding why tiles sound hollow is important because the issue can sometimes indicate a developing tile bonding problem rather than merely a difference in sound.
Table of Contents
ToggleWhat Are Hollow Tiles?
Hollow tiles are tiles that have insufficient contact between their underside and the substrate or adhesive bed.
When a tile is properly installed, the adhesive should provide adequate contact and support according to the tile type, application, and installation requirements.
If voids remain beneath the tile, tapping the surface can produce a hollow or drum-like sound.
A hollow sound does not automatically mean that a tile will fail immediately. However, widespread hollow areas, loose movement, cracking, or moisture exposure should be investigated by an experienced installer.
Why Do Tiles Sound Hollow?
Several factors can contribute to hollow-sounding tiles.
1. Insufficient Tile Adhesive Coverage
One of the most common causes is inadequate adhesive coverage.
If the adhesive is not spread correctly, portions of the tile may remain unsupported. This can create air pockets beneath the tile.
Using an appropriate adhesive wall tiles solution and applying it with the recommended trowel helps improve contact between the tile and substrate.
2. Incorrect Trowel Selection
The notched trowel controls how much adhesive is distributed across the substrate.
Using a notch that is too small for the tile can result in insufficient adhesive coverage.
Large-format tiles generally require careful adhesive application and may require back-buttering according to the installation system and manufacturer’s recommendations.
3. Poor Substrate Preparation
Dust, grease, loose particles, weak surfaces, or excessive unevenness can interfere with adhesive bonding.
Before installation, the substrate should be appropriately prepared and suitable for the selected adhesive.
4. Incorrect Adhesive Application
If adhesive is spread unevenly or left exposed beyond its recommended open time, bonding performance can be affected.
Installers should always follow the technical instructions provided for the selected tile adhesive.
Vermoda Plus provides tile adhesive solutions for different tile installation requirements.
5. Tile Movement
Movement caused by structural conditions, temperature changes, substrate movement, or inadequate bonding can contribute to hollow sounds and eventual tile debonding.
Movement joints and appropriate installation practices should be considered wherever required.
Is a Hollow Sound Always a Problem?
Not necessarily.
A hollow sound alone does not prove that a tile has failed. The significance depends on:
- Size of the hollow area
- Location of the tile
- Whether the tile moves
- Presence of cracks
- Adhesive coverage
- Exposure to moisture
- Traffic and loading conditions
For example, a small isolated area may require a different response from widespread hollowing across an entire floor.
Professional assessment is recommended where hollow sounds are extensive or accompanied by visible defects.
How to Test for Hollow Tiles
A basic inspection can identify areas that require further investigation.
Step 1: Tap the Tile
Use a suitable non-damaging tapping method to compare the sound from one tile with neighbouring tiles.
Step 2: Compare Surrounding Tiles
Listen for significant differences in sound.
Step 3: Check for Movement
Carefully inspect whether the tile moves or feels unstable.
Step 4: Inspect Grout Joints
Look for cracked, missing, or deteriorated tile joint grout.
Step 5: Check for Visible Cracks
Inspect tile edges and surfaces for cracks or displacement.
For large commercial or infrastructure projects, professional inspection methods should be considered instead of relying only on sound.
Also Read: Which Tile Adhesive Should I Use for Vitrified Tiles?
Common Problems Associated With Hollow Tiles
| Problem | Possible Cause | Recommended Action |
|---|---|---|
| Hollow sound | Incomplete adhesive coverage | Inspect bonding |
| Loose tile | Poor adhesive contact | Remove and reinstall where necessary |
| Cracked grout | Tile movement | Check tile bonding and joints |
| Cracked tile | Movement or unsupported area | Assess substrate and adhesive |
| Water penetration | Open joints or damaged grout | Repair joints and investigate waterproofing |
| Repeated tile failure | Installation-system issue | Review substrate, adhesive and application |
How to Prevent Hollow Tiles
The best approach is to prevent insufficient bonding during installation.
1. Prepare the Substrate
Remove dust, loose material, grease, and other contaminants.
2. Select the Correct Adhesive
Choose adhesive according to tile type, size, substrate, and application environment.
3. Use the Correct Trowel
Select an appropriate notch size according to the manufacturer’s recommendations.
4. Maintain Proper Adhesive Coverage
Spread adhesive consistently and ensure the tile is properly bedded.
5. Use Back-Buttering Where Required
Large-format tiles may require additional adhesive application to the back of the tile.
6. Respect Open Time
Do not install tiles over adhesive that has exceeded its recommended open time.
7. Allow Proper Setting
Avoid premature loading or grouting before the adhesive has adequately set.
What Role Does Grout Play?
Grout does not replace the tile adhesive beneath the tile.
Its primary role is to fill and protect the joints between tiles.
Once the tiles are properly bonded, suitable grout can help protect joints against moisture, dirt, and mechanical wear.
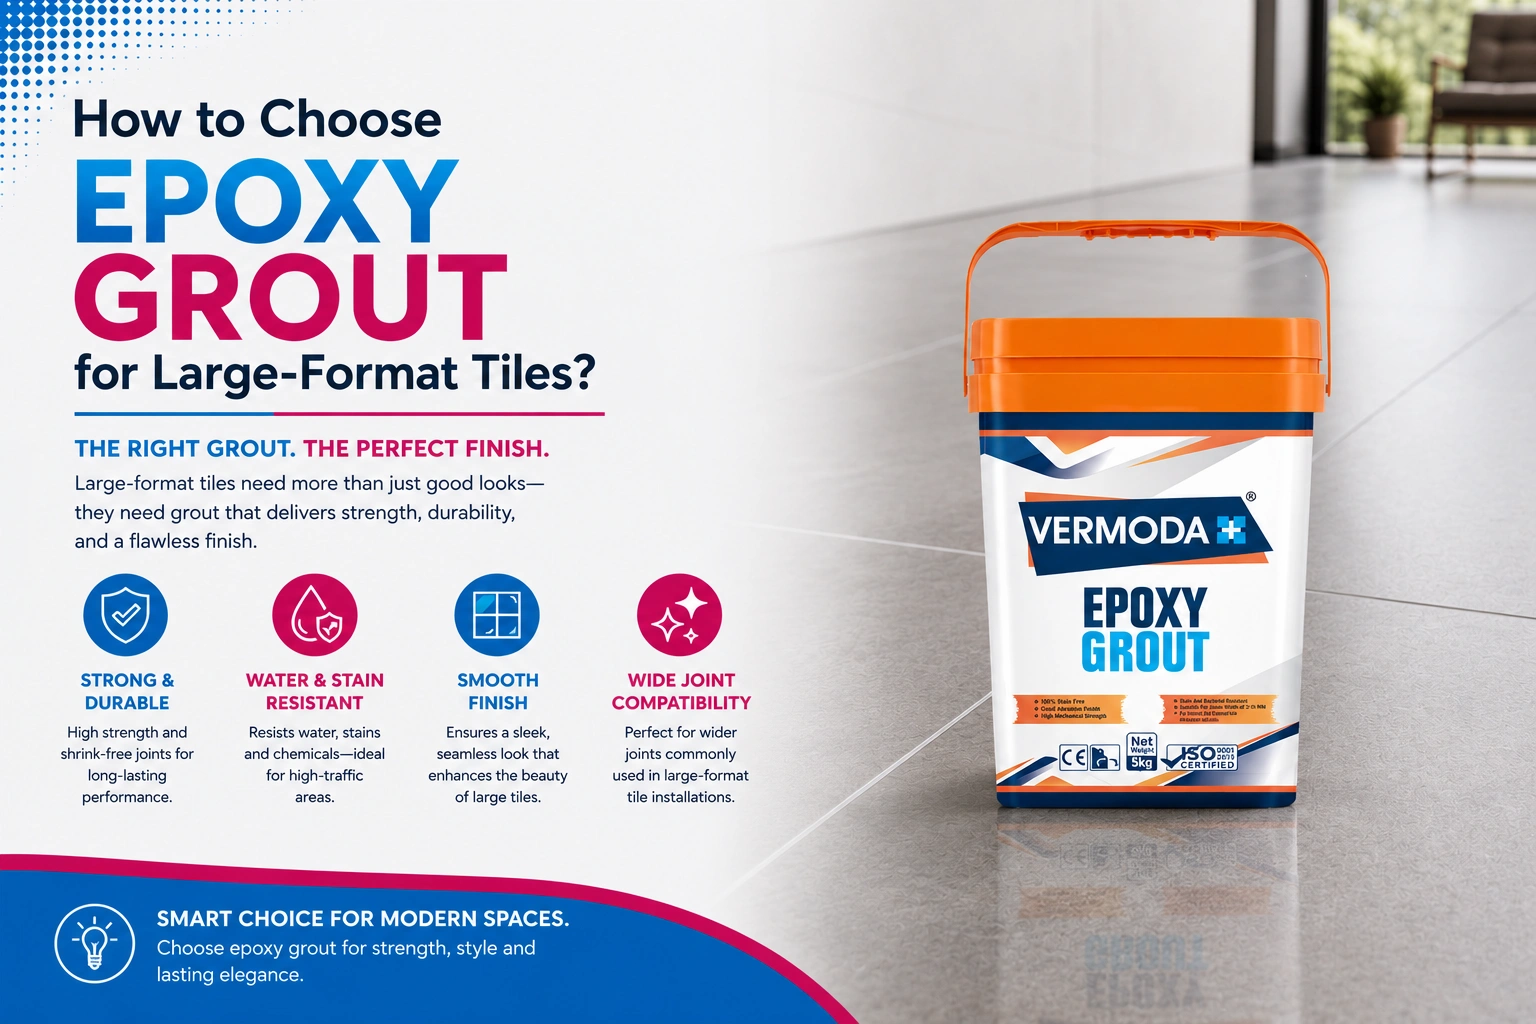
For demanding applications, epoxy grout for tiles provides advantages such as low water absorption, stain resistance, and chemical resistance.
Can Cleaning Cause Tile Problems?
Cleaning normally does not cause hollow tiles when appropriate products and methods are used. However, aggressive cleaning of damaged or poorly bonded installations can expose existing problems.
After installation, appropriate cleaning should be performed according to the tile and grout manufacturer’s recommendations.
For stubborn stains, a suitable tile stain remover can be considered after confirming compatibility with the tile and grout.
Supporting Products in a Complete Tile System
Tile installation performance depends on the compatibility of the entire system.
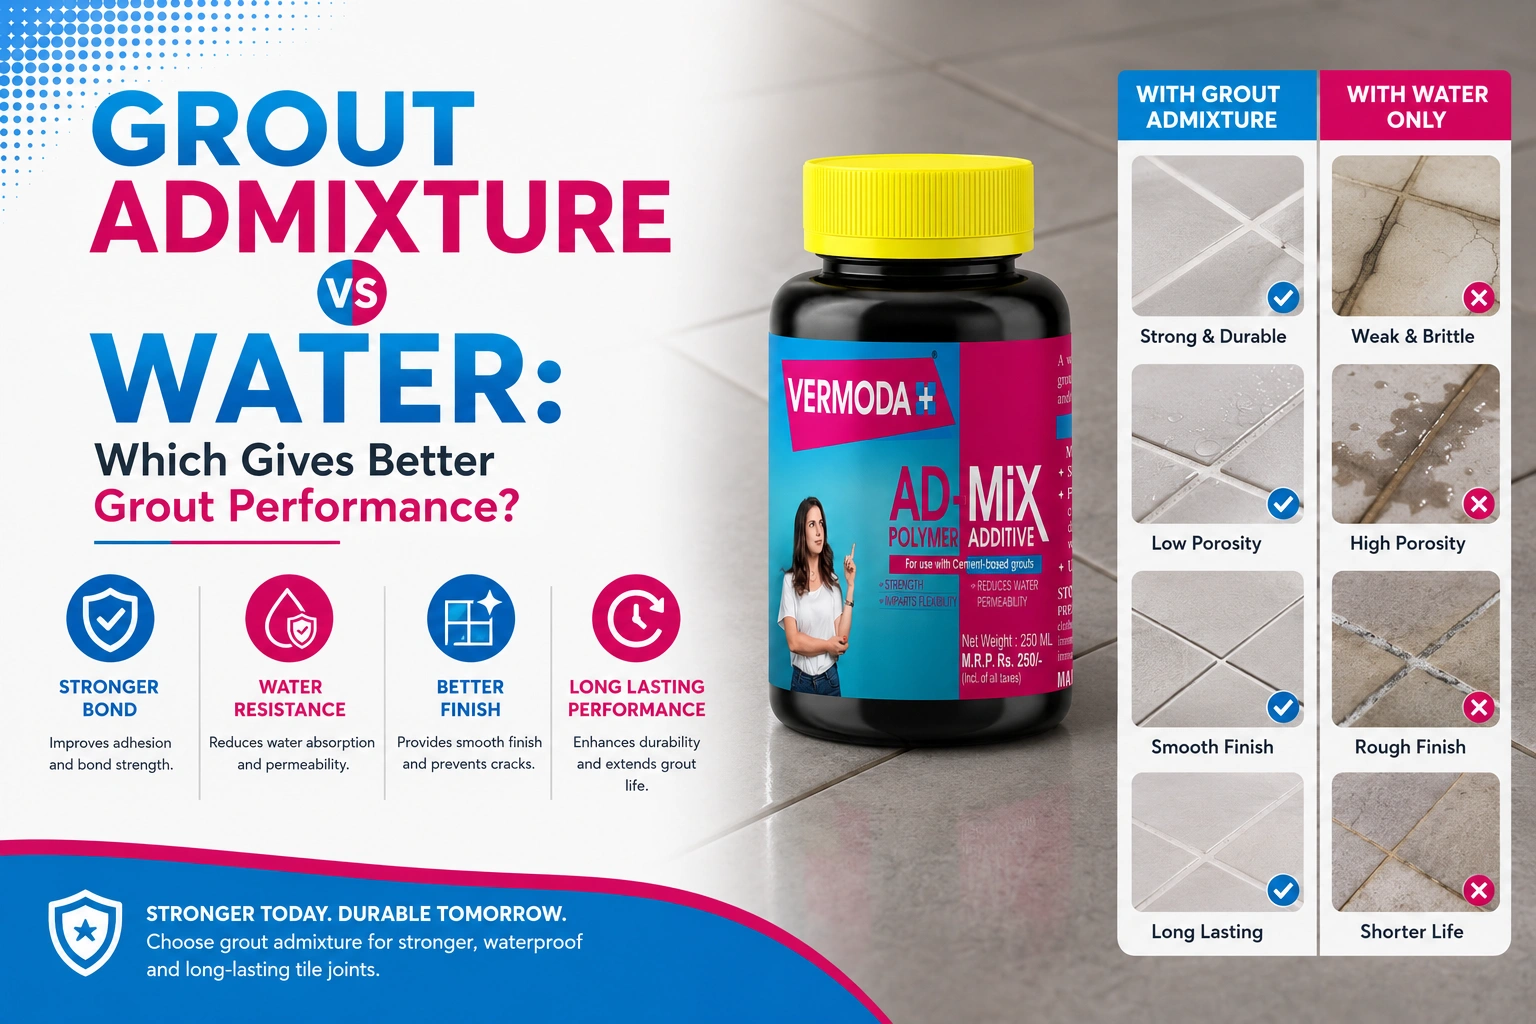
Depending on the application, projects may also use products such as white cement online solutions for suitable finishing work and grout admix where specified to modify grout performance.
These products should be used for their intended applications and should not substitute a purpose-designed tile adhesive where tile bonding is required.
Vermoda Plus: Complete Tile Installation Solutions
Vermoda Plus offers a broad portfolio of tile installation and construction chemical solutions for residential, commercial, and infrastructure applications.
As a leading tile grout supplier in India, Vermoda Plus provides a wide variety of products supporting different tile fixing and joint treatment requirements.
Its product portfolio includes tile adhesives, epoxy grout solutions, grout-related products, and other construction chemical solutions designed to help professionals build reliable installation systems.
For builders, architects, civil contractors, developers, and project managers, selecting compatible products from an established manufacturer can simplify project planning and quality control.
Expert Recommendation
When a tile sounds hollow, do not immediately assume that the entire installation has failed.
First determine whether the hollow area is isolated or widespread and whether other symptoms such as tile movement, cracking, moisture penetration, or loose joints are present.
For new projects, prevention is more effective than repair. Proper substrate preparation, suitable tile adhesive, adequate adhesive coverage, correct trowel selection, and professional installation are the most important factors in reducing hollow areas.
For demanding environments, combine the appropriate tile adhesive with a compatible grout system, including epoxy grout where its performance characteristics are required.
Summary: Key Takeaways
- Hollow tiles generally indicate incomplete or inadequate contact beneath the tile.
- Poor adhesive coverage is one of the most common contributing factors.
- Incorrect trowel selection and substrate preparation can affect bonding.
- A hollow sound alone does not necessarily mean immediate tile failure.
- Loose tiles, cracks, and widespread hollow areas require closer inspection.
- Proper tile adhesive selection and application help prevent the problem.
- Suitable grout protects tile joints but does not replace tile adhesive.
- Professional installation and system-based product selection provide better long-term results.
Frequently Asked Questions
1. Why do tiles sound hollow after installation?
Tiles can sound hollow when there are gaps or insufficient adhesive contact between the tile and substrate.
2. Are hollow-sounding tiles defective?
Not always. A hollow sound should be assessed along with tile movement, cracking, adhesive coverage, and other visible symptoms.
3. Can hollow tiles become loose?
Yes. If hollow areas result from poor bonding or insufficient adhesive coverage, tiles may eventually become loose.
4. How can hollow tiles be prevented?
Use the correct tile adhesive, prepare the substrate properly, select the right trowel, and achieve adequate adhesive coverage.
5. Does grout fix hollow tiles?
No. Grout fills tile joints but does not correct inadequate adhesive bonding beneath tiles.
6. Can large-format tiles sound hollow?
Yes. Large-format tiles can develop hollow areas if adhesive coverage and installation techniques are inadequate.
7. What adhesive should be used to prevent hollow tiles?
The appropriate tile adhesive depends on tile size, substrate, location, and project conditions. Vermoda Plus offers tile adhesive solutions for different applications.
8. When should a hollow tile be replaced?
Replacement may be necessary when a tile is loose, cracked, extensively unsupported, or showing signs of installation failure.